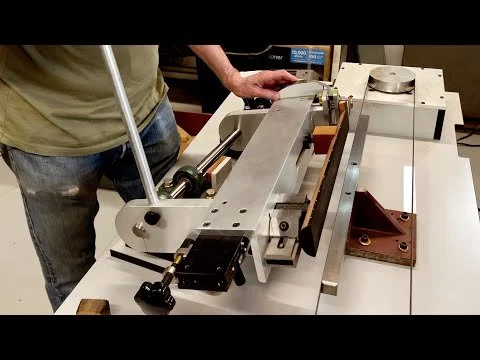
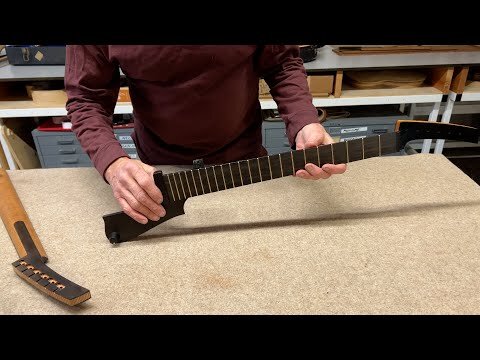
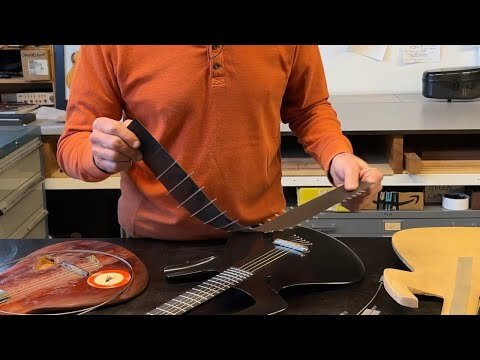
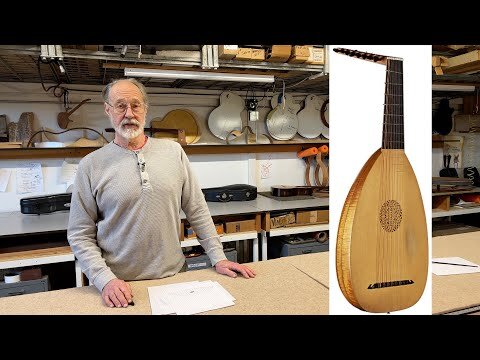
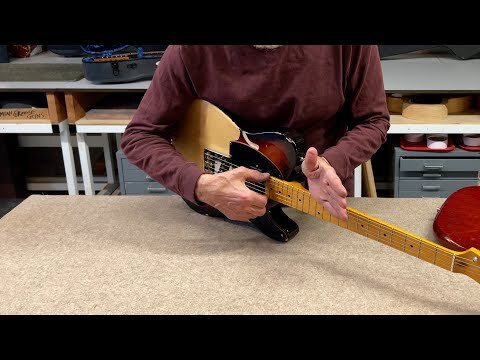
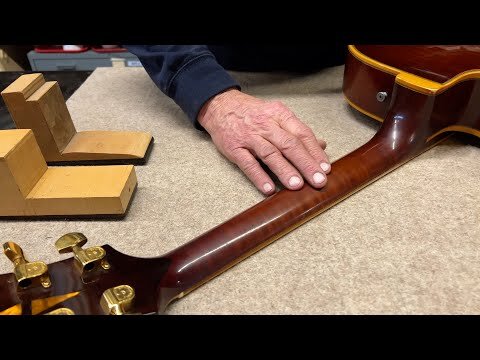
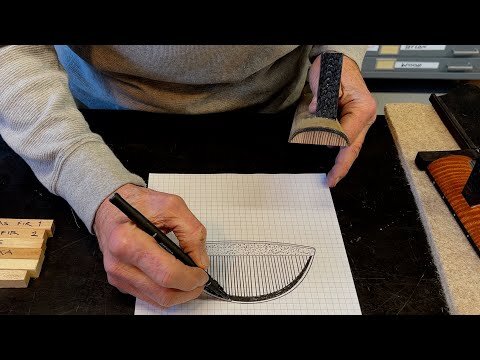
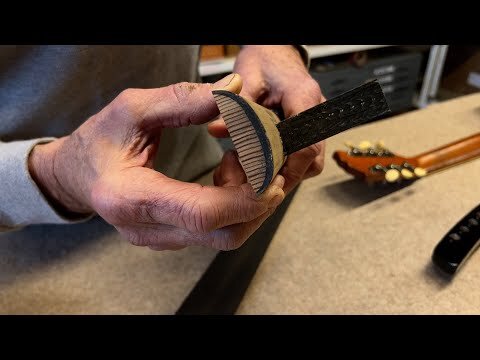
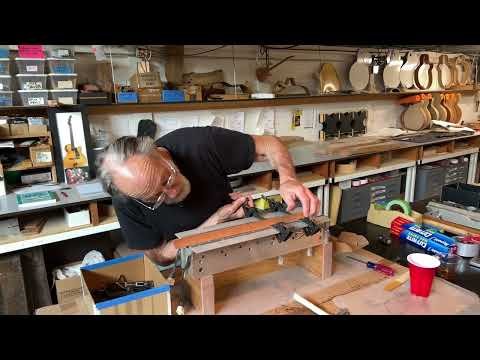
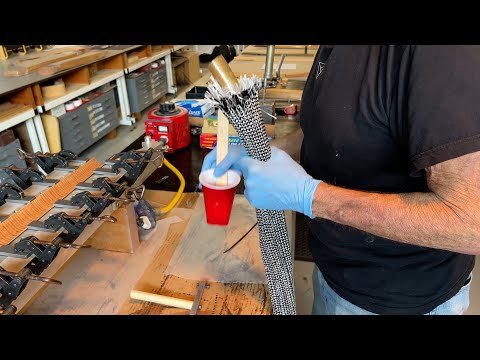
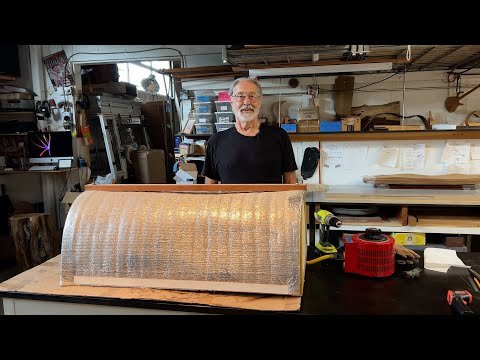
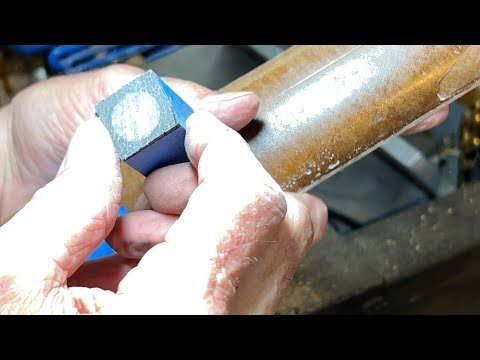
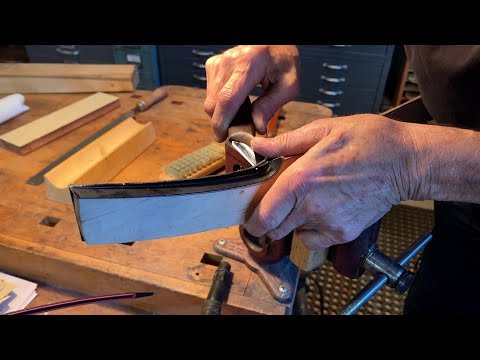
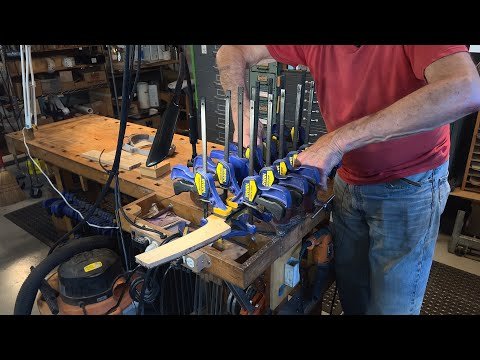
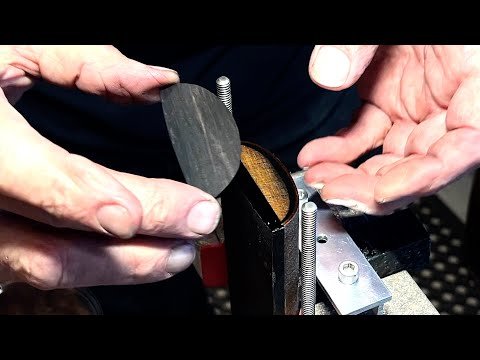
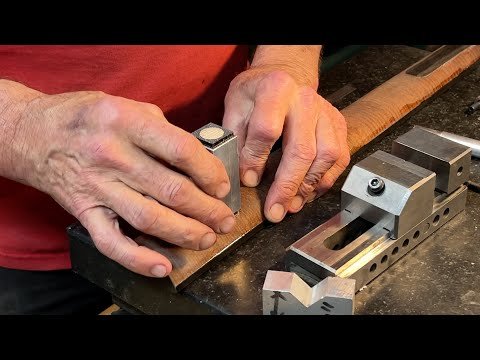
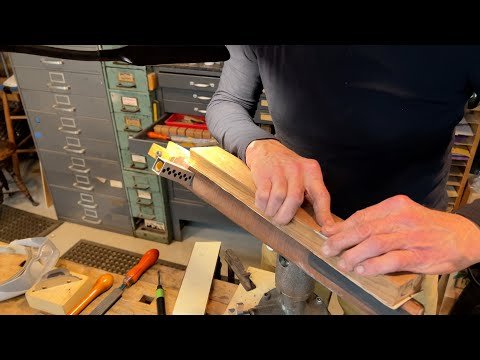
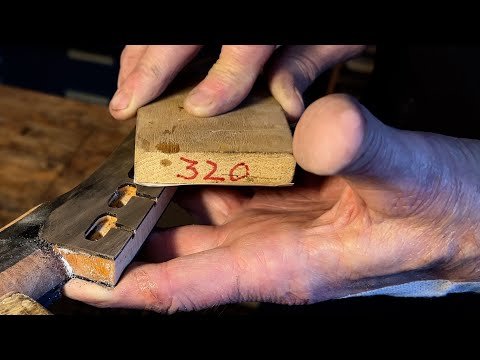
ETUDE: The Neck Journey
We’ll be adding videos as they are completed over the next few months, illustrating the way Ken approaches guitar necks.
View fullsize
![]()
View fullsize
![]()

View fullsize
![]()
View fullsize
![]()
View fullsize
![]()
View fullsize
![]()
View fullsize
![]()
View fullsize
![]()
View fullsize
![]()
View fullsize
![]()
View fullsize
![]()
View fullsize
![]()
View fullsize
![]()
View fullsize
![]()
View fullsize
![]()
View fullsize
![]()
View fullsize
![]()
View fullsize
![]()
View fullsize
![]()
View fullsize
![]()
View fullsize
![]()
View fullsize
![]()
View fullsize
![]()
View fullsize
![]()
View fullsize
![]()
View fullsize
![]()
View fullsize
![]()
View fullsize
![]()
View fullsize
![]()
View fullsize
![]()

View fullsize
![]()
View fullsize
![]()